


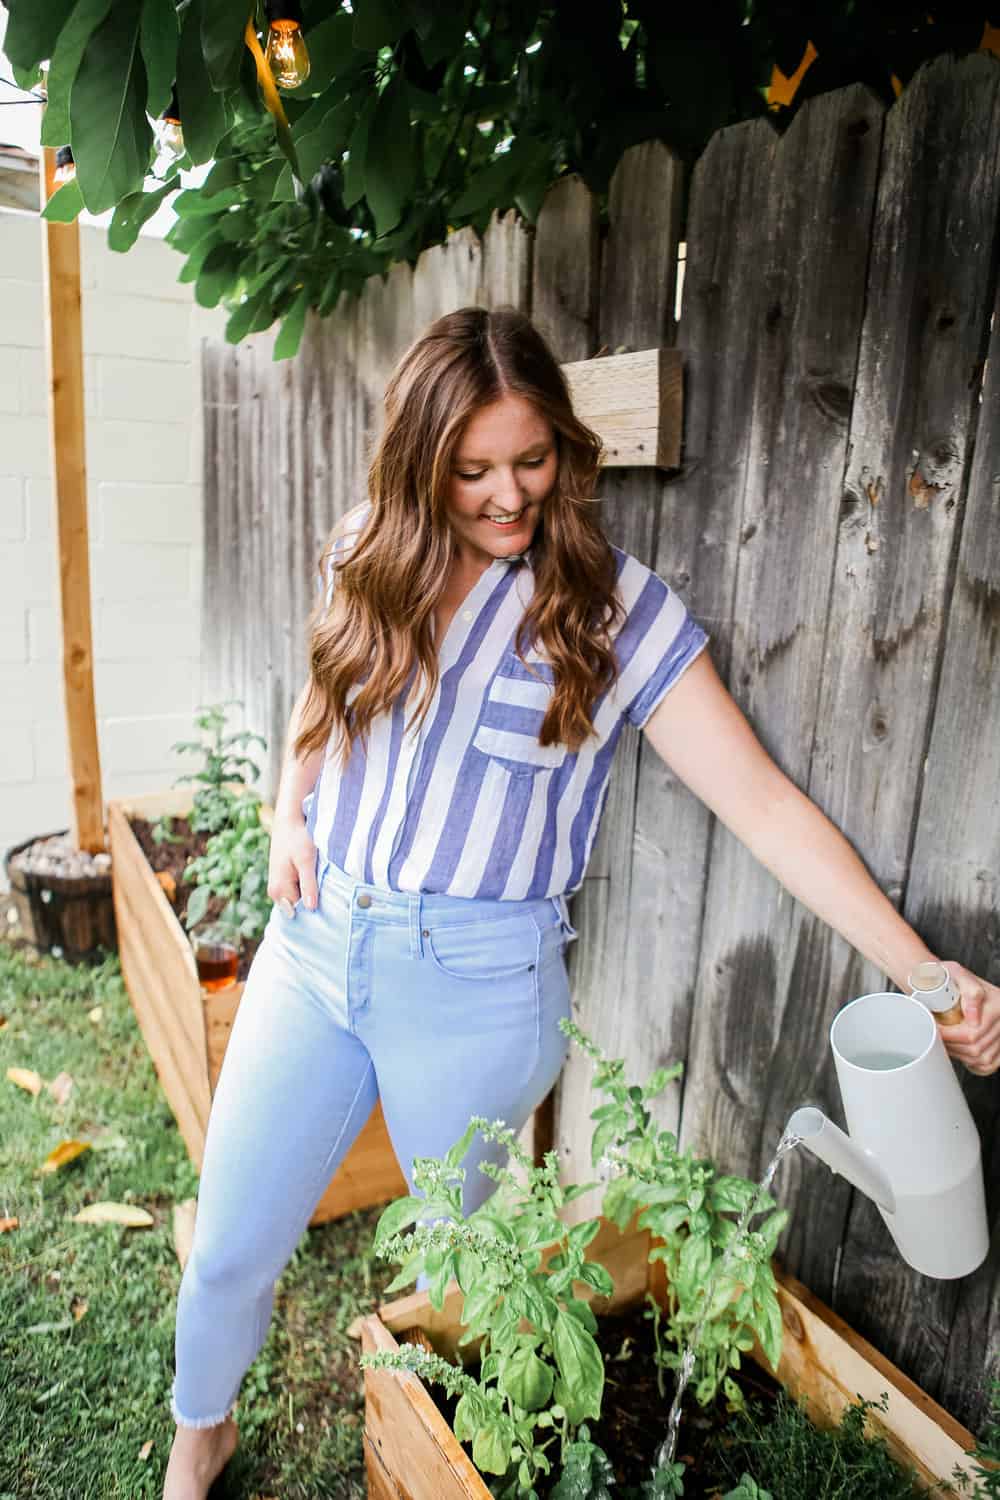
For the last couple of months we have been tying up lose ends in our backyard. We have created a lounge space in the grass against the garage, painted an entire brick wall white (thank you landlord Jeff for not killing me on this one!) and we did a little bit of gardening! I don’t go too crazy when it comes to plants because… uhh… I have a hard time keeping them alive, okay?! There I admit it! But these herbs, I have totally been able to manage!
I am doing a jumbo before and after backyard reveal post on the majority of the plans that took place, but I wanted to highlight these raised wooden herb garden planters as they have sparked quite an interest on instagram. I’ve gotten a ton of messages asking how we put them together so this post is for you my friends! It was honestly a very quick and easy afternoon DIY. It won’t take you hours on end and works well within lots of spaces. Most of my home and lifestyle content is geared towards the more affordable/rental friendly scope, but you could totally stick these planters anywhere. They rock a renters price tag but honestly look really classy.
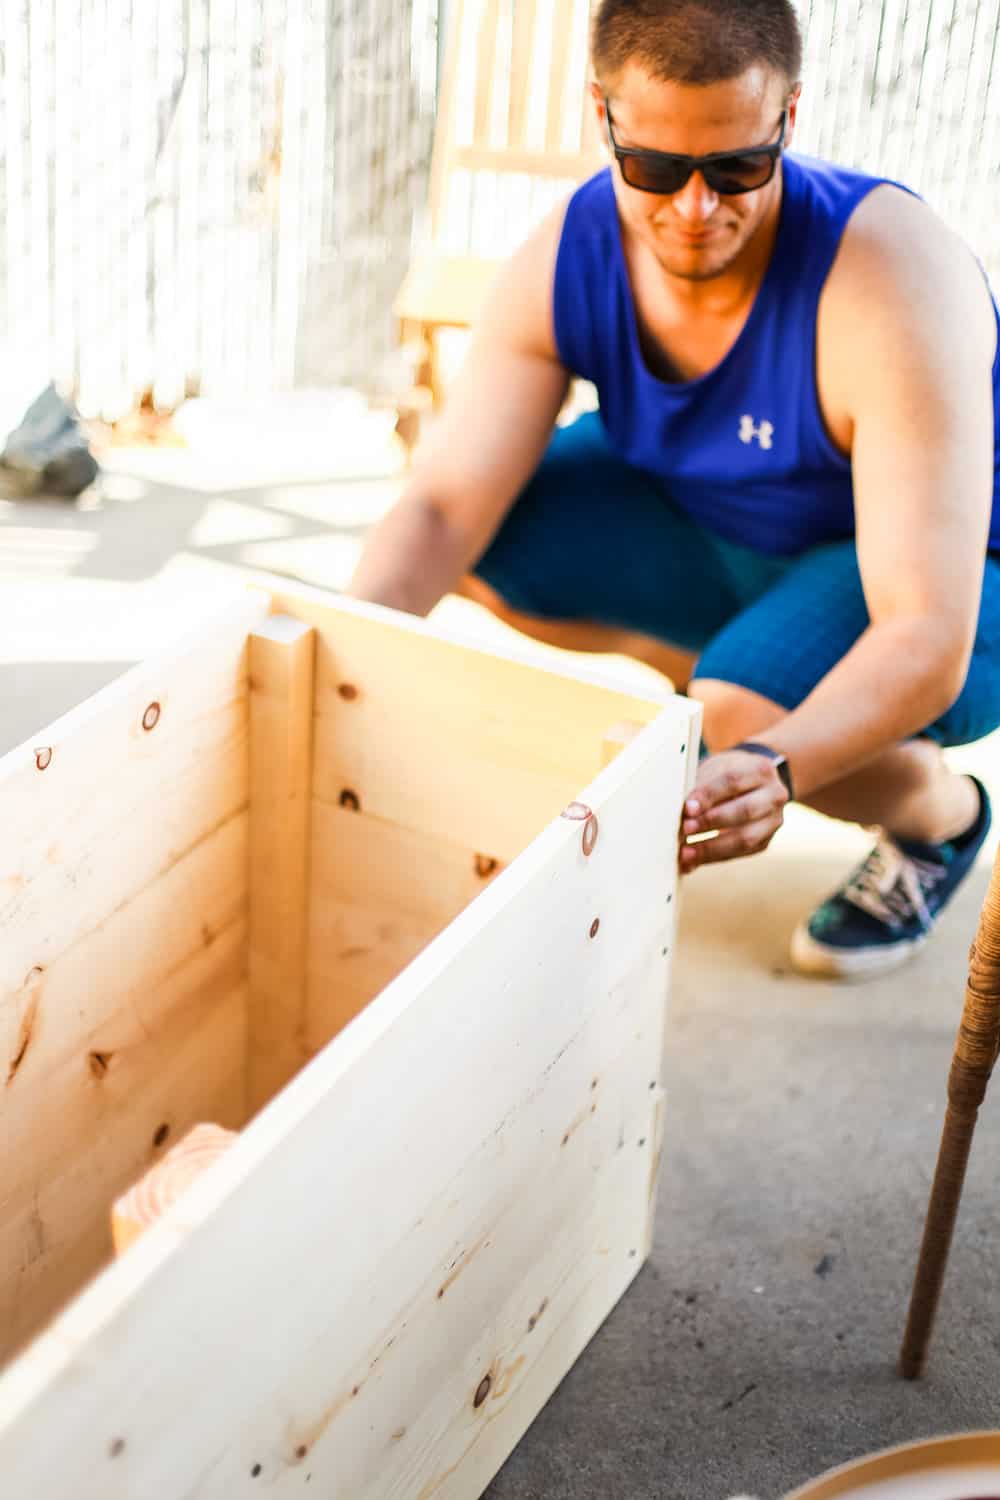
When it comes to these crazy DIY projects I almost always have some help in one form another. Usually between Jared and my Dad (have you seen our bohemian table, thanks Dad!) .I am so fortunate I’ve got two capable gentlemen that put up with my crazy antics! I would seriously love to enter the ‘power tools’ chapter of my life but I just haven’t gotten there yet. I am also getting better at delegating and I know that with out a doubt these two men are way more capable at ‘building’ things than I ever would be.
For these planters I screen shotted a bunch of different pinterest inspiration photos, measured the space, and talked over a general plan with Jared. He decided on what materials we should get after I gave him a rough budget. I really didn’t want to spend over $100 on these planters. There one of those things that we may or may not take them with us when we move and I didn’t want to feel super attached to them if the time came and we didn’t have the space. I always try and keep my renter projects in mind with a ‘transferable’ process.
Between the lumbar, potting soil, stain, and herbs we spent right around $100. This number can vary if you don’t have anything lying around. Luckily Jared has all of his own tools and I had some stain leftover from my kitchen shelves, so we were able to cut the costs down. However, we do not have a saw and we take full advantage of the lumber cutting services at The Home Depot and Lowes. Jared put everything together and I stained the planters (I love staining stuff!). Below I will give you a rough outline of instructions and supplies so you can put one of these together on your next free weekend afternoon.
I asked Jared to help me put together a list of guidelines and assembly steps so I didn’t sound like a crazy girl that has no idea how to use power tools or technical terms. I read through his tips and they seem legit (and also gave you really easy pictures to follow!). I literally followed Jared around for like 3 hours and kept asking him ‘is this a step’ and he would tell me what is most important to include. We’re super effecient around here if you can’t tell.
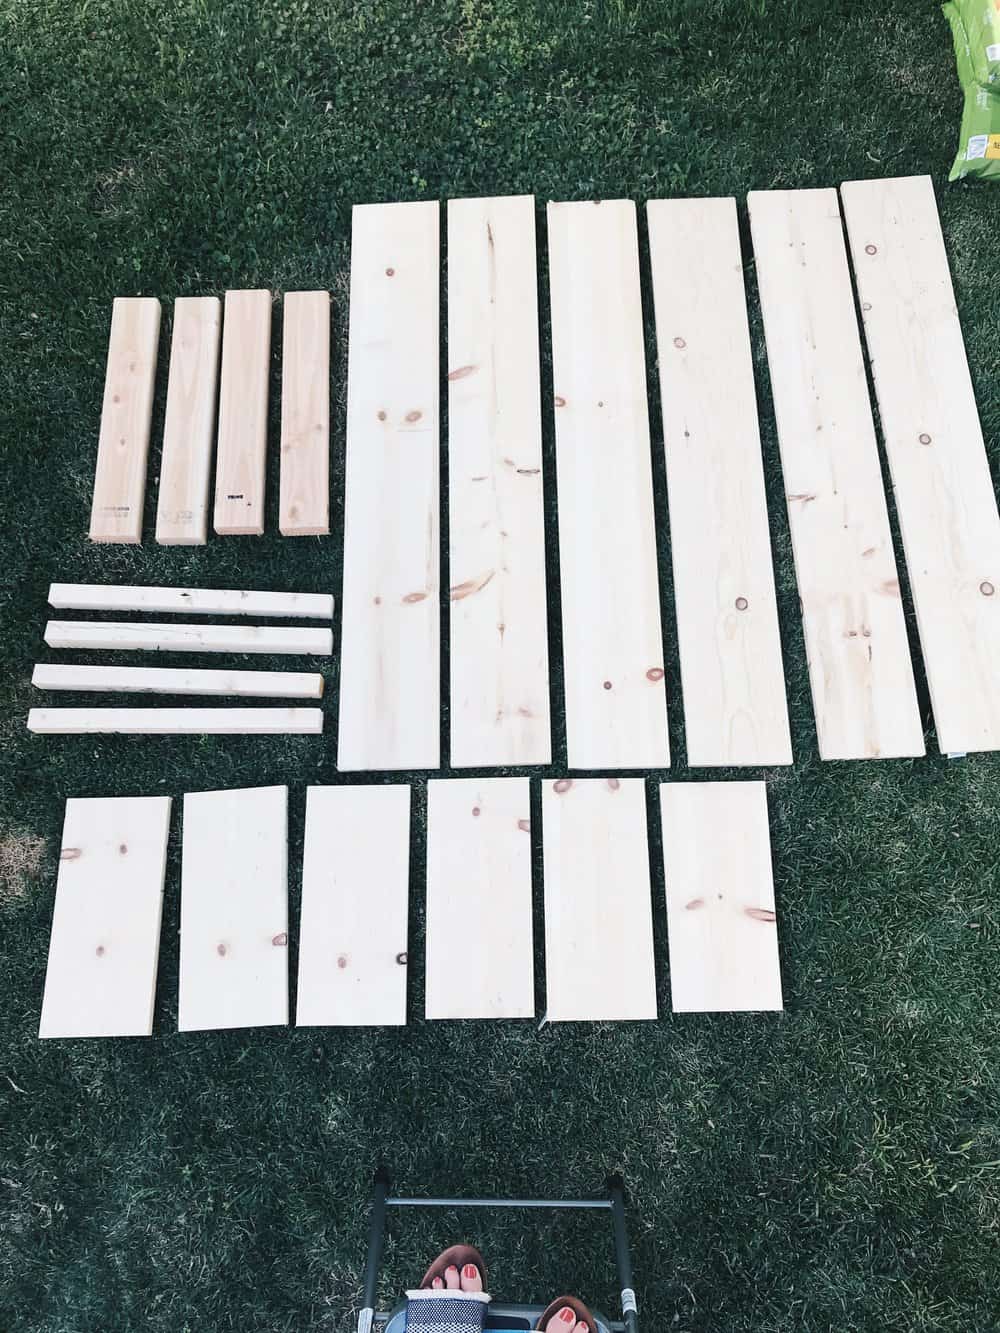 I always find these supplies photos really helpful! Use this as a guideline and the supplies list below when you’re at your hardware store.
Supplies you will need:
-Drill
-1 1/4 Drywall screws
-(2) 2×4’s cut at 22 inches
-(6) 1×8’s cut at 48 inches
-(6) 1×8’s cut at 16 inches
-(4) 2×2’s cut at 22 inches
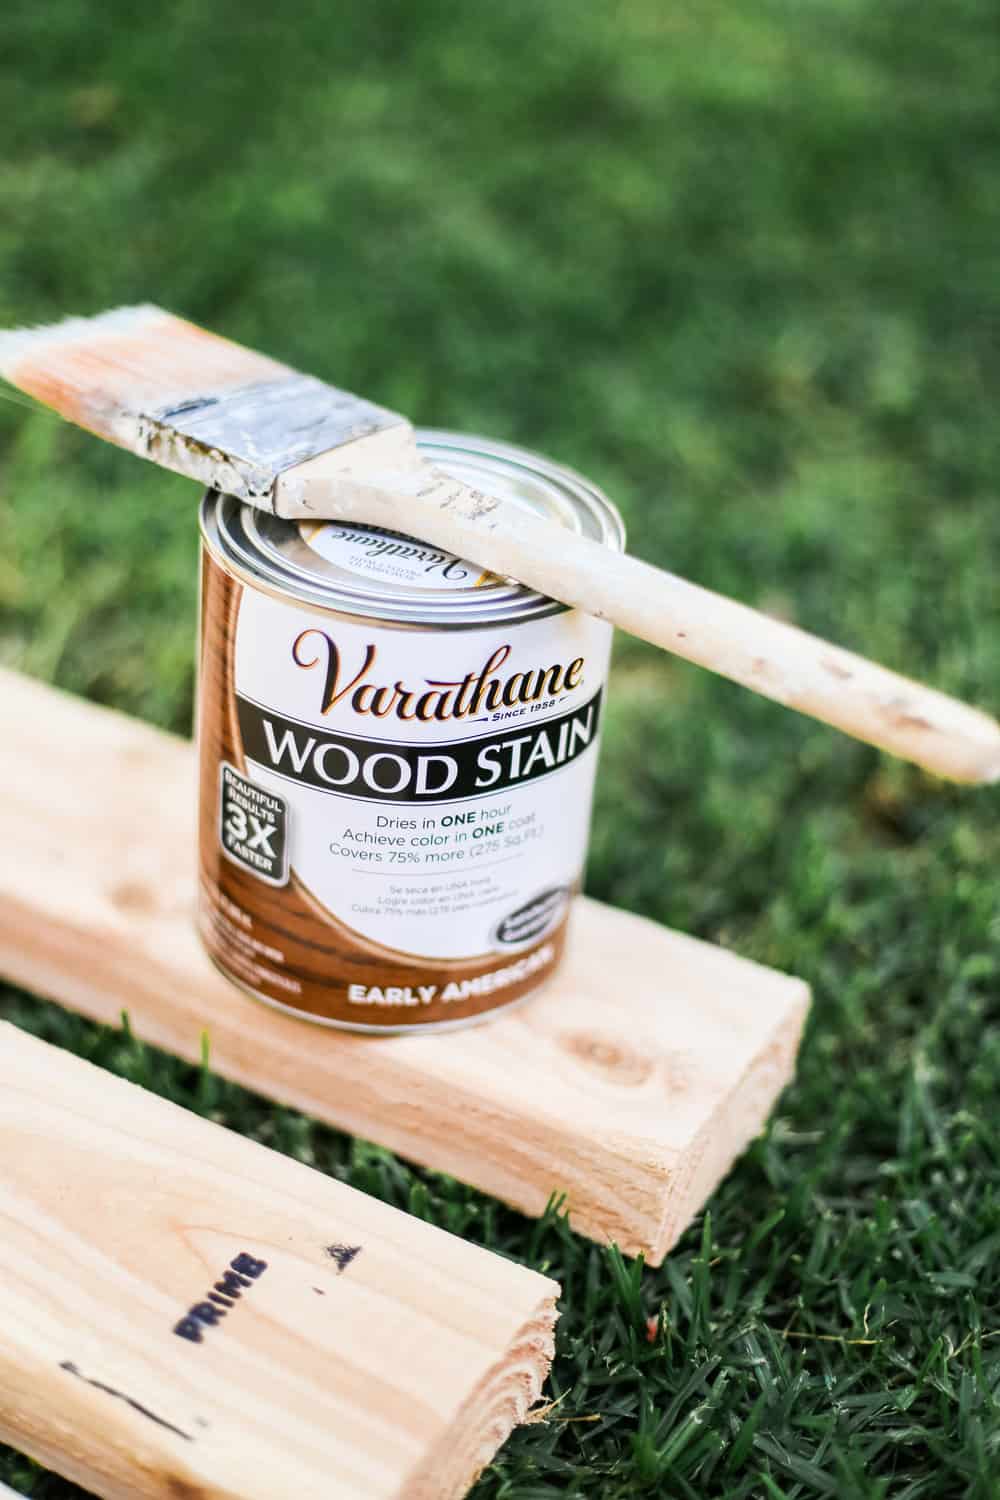
-(1) pint of Varathane wood stain and sealer all in one- Early American shade
-Brush or weenie roller
-Old rag
-(3) standard bags of potting soil
-(3-4) standard bags of peat moss
-Selection of herbs or vegetables
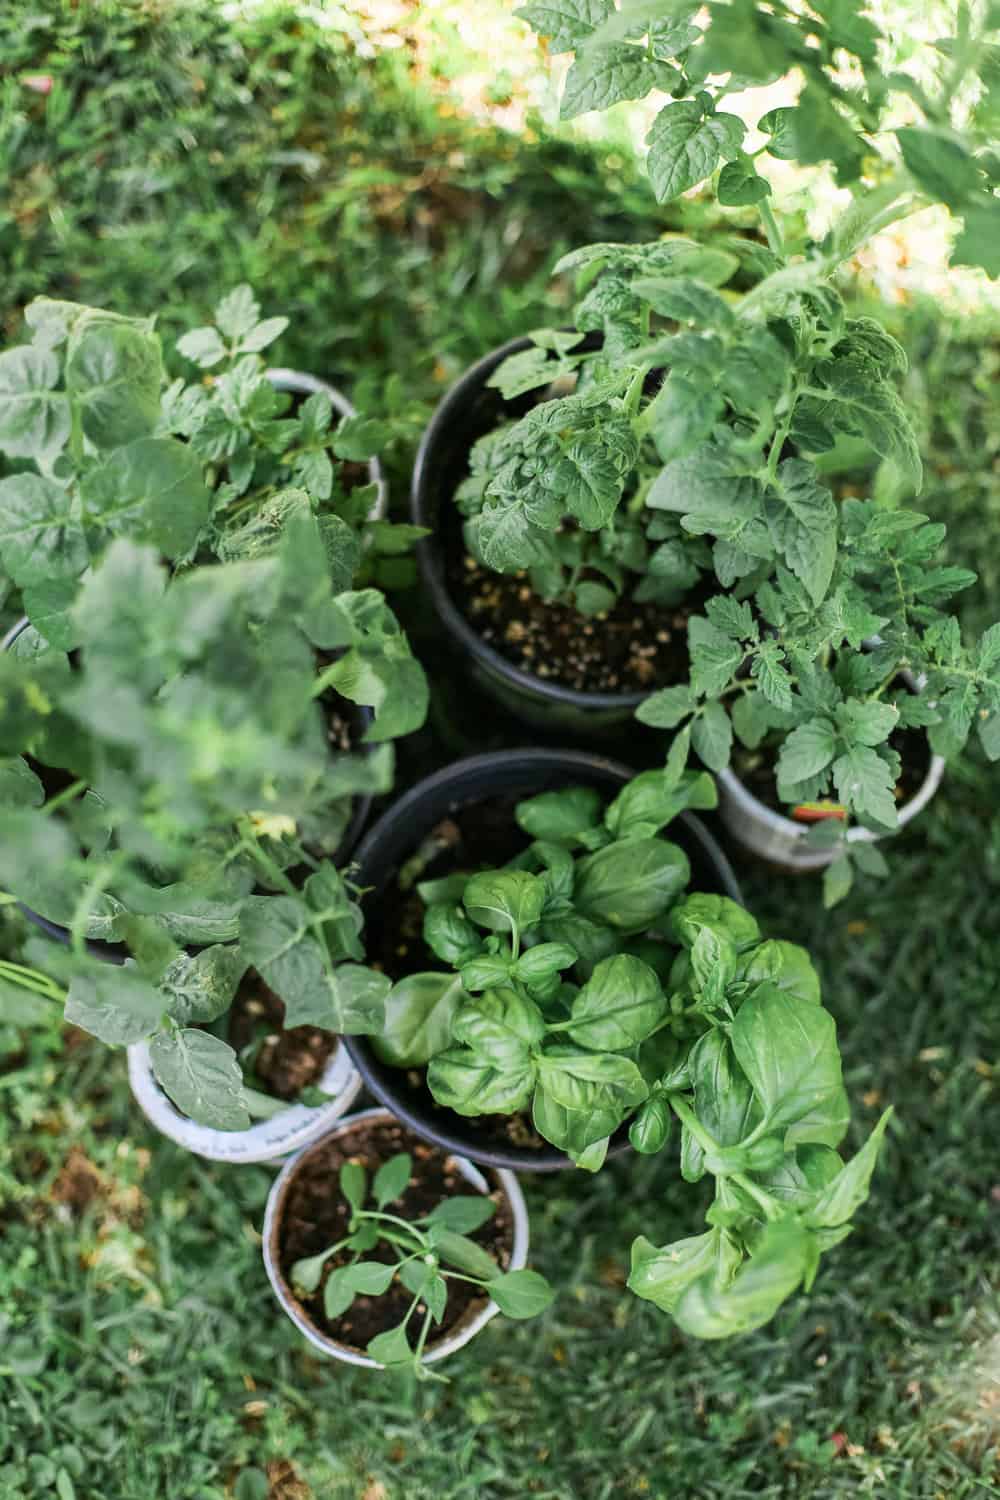
We used…
Rosemary
Cilantro
Mint
Peppermint
Basil
Rosemary
Oregano
More Basil
Cherry Tomatoes
Jalapenos
Littler cherry tomatoes

Assembly Notes:
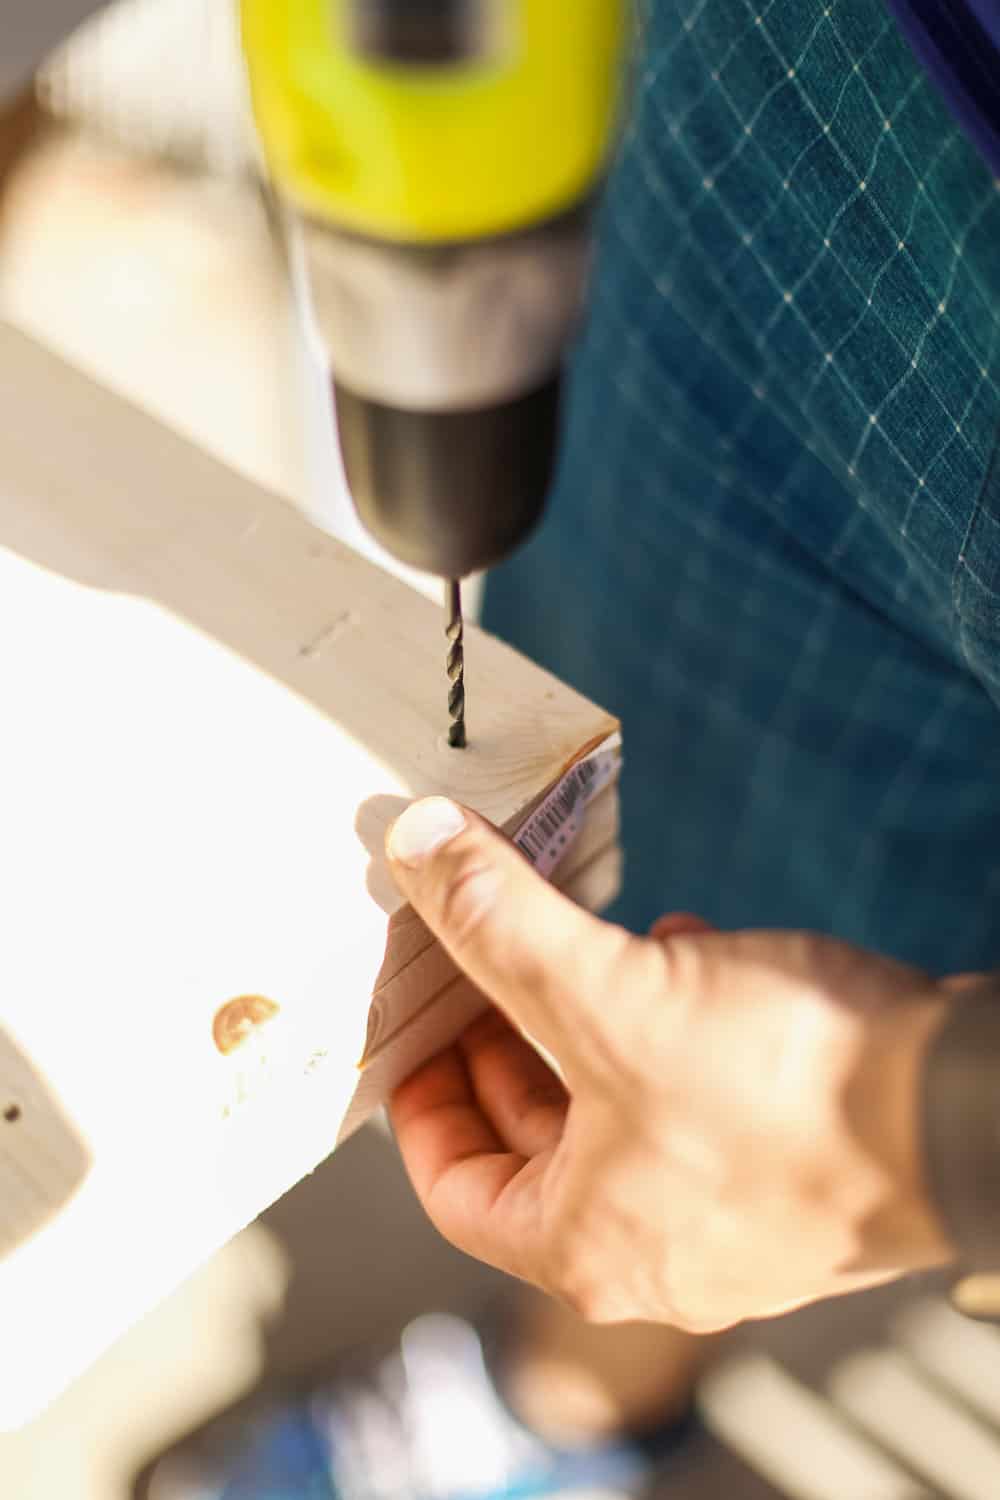
-If you are going to join two pieces of wood with a screw, be sure to drill a hole in the board you are going all the way through. This will avoid the outer board from splintering and ruining your project.
-When choosing a drill size for the hole, be sure to look at the size of screw you are using on the screw box and pick a drill size either the exact size or something slightly larger. Be careful not to go too large though, you may make a hole that is bigger than the screw head itself.
-Screw the bottom boards of the planter first before working your way vertically.
-If you have less-attractive boards, try to keep them together on one side of the planter, that way you can hide that side against the wall for no body to see.
Assembly:
1. Pre drill each exterior boards that will be drilled into the interior pieces.
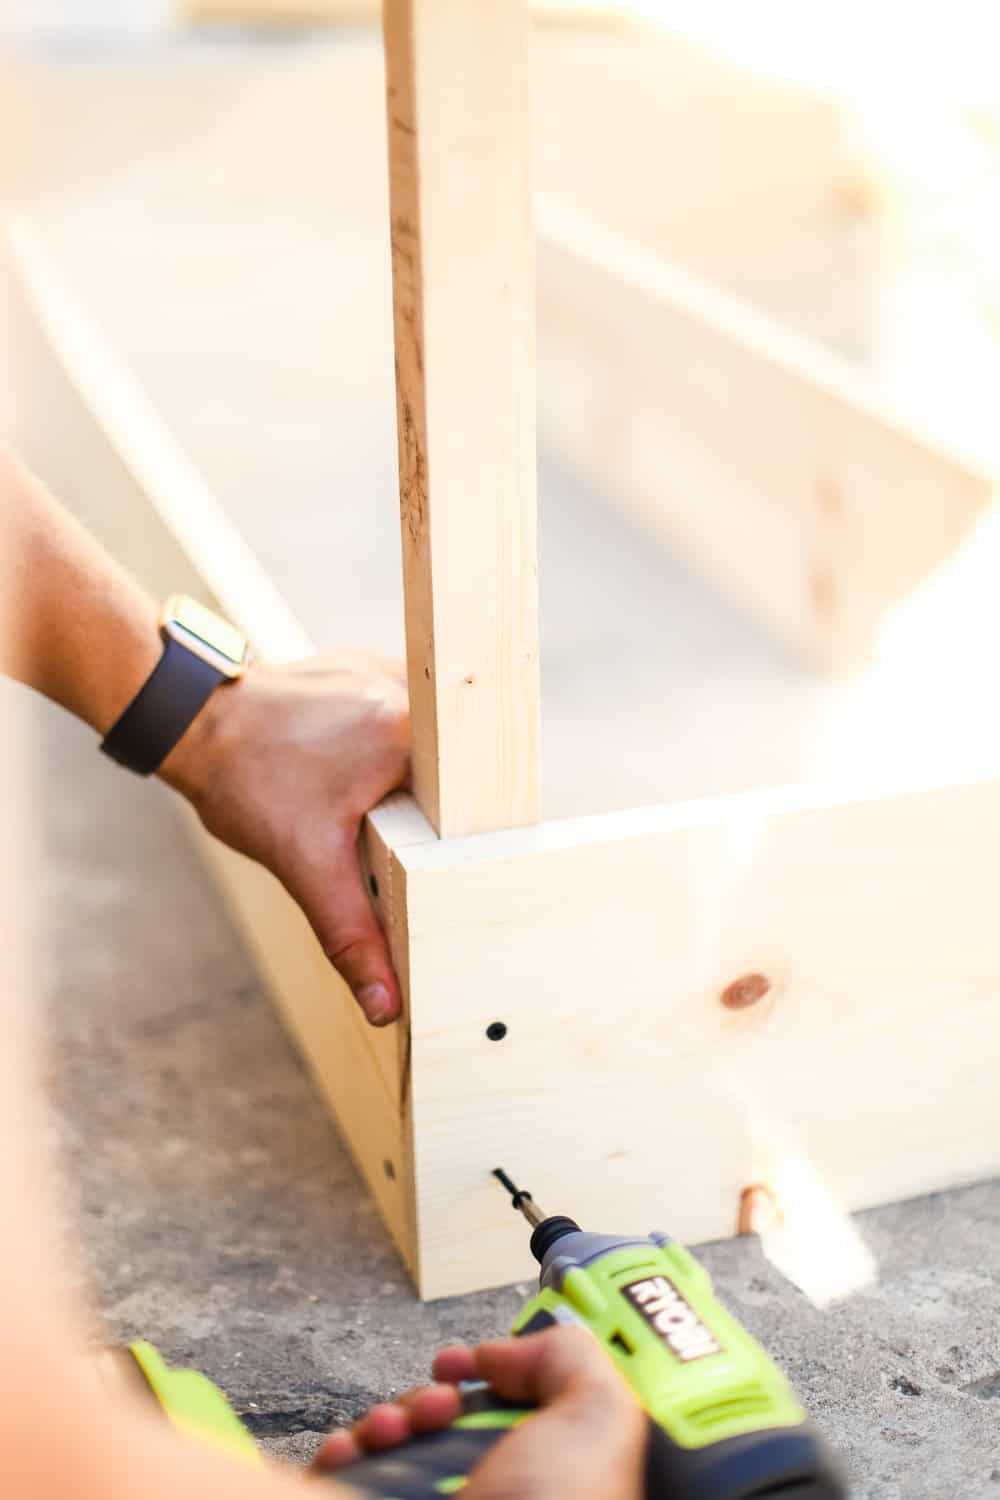
2. Begin assembly by screwing two of the 2x2s into each end of 1 of the 48 inch 1×8. Repeat for the other side of the planter.
3. Once you have 2 pieces made, you can connect one the 16 inch 1×8 to the 2×2 so that it butts up to the edge of the 48inch 1×8 (picture shown above)
4. Repeat step 3 on the other side of the planter.
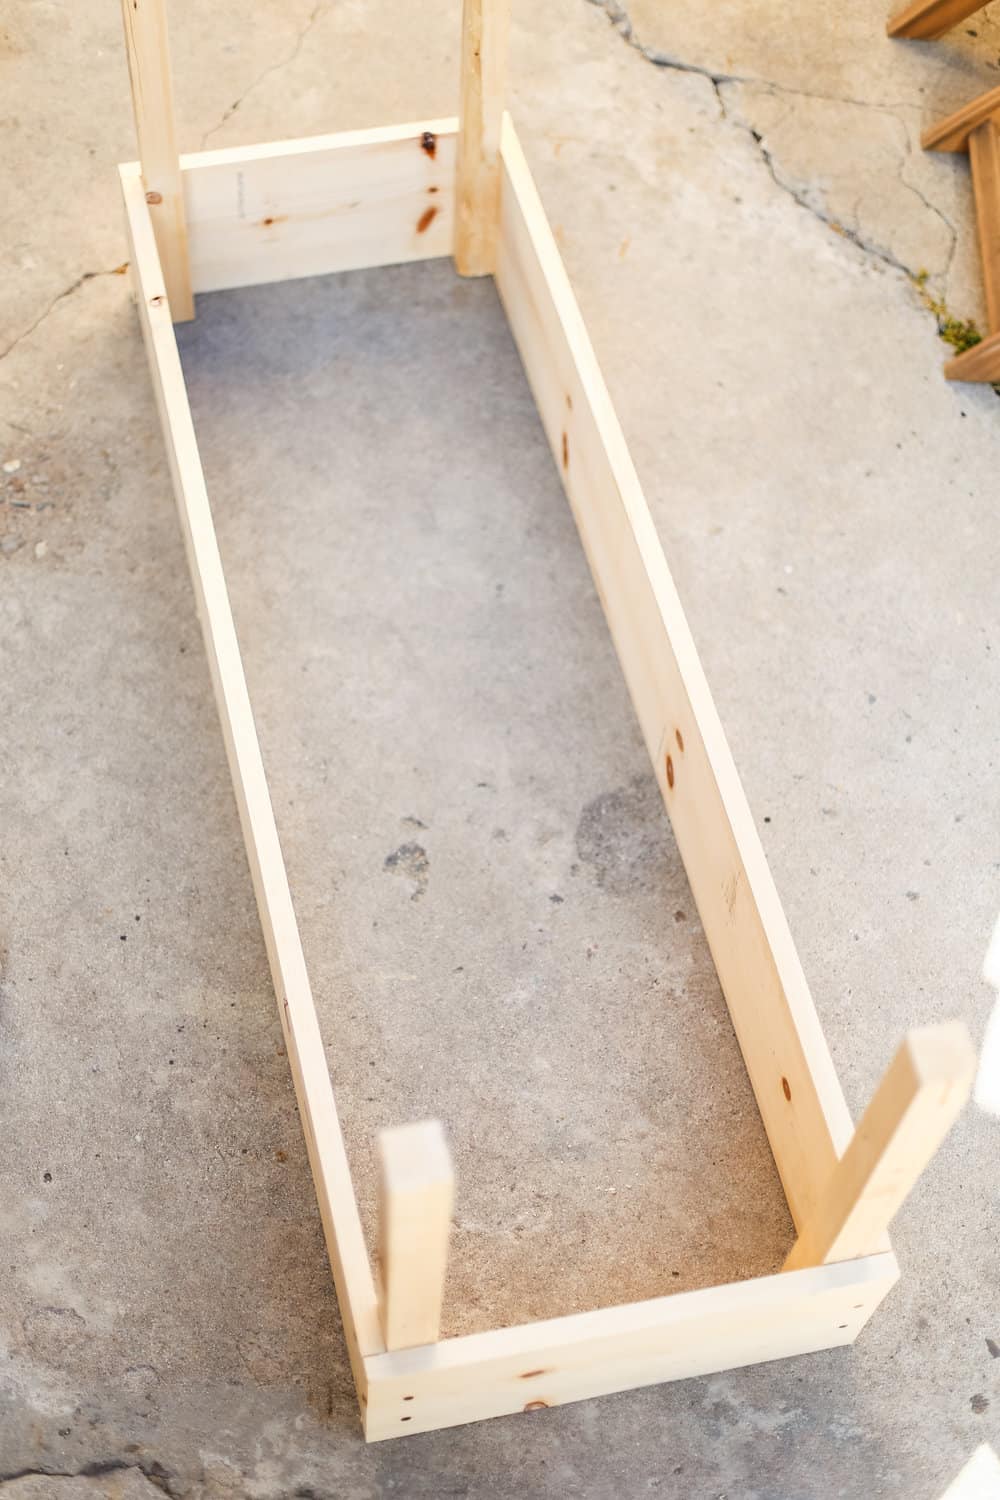
5. Once you have your base layer, begin to stack the second horizontal layer of boards by repeating steps 2 and 3.
6. Repeat step 5 with the final horizontal layer of boards.
7. When all 3 horizontal layers are screwed into the 2x2s on the corners, place the 2×4 in the middle of each wall you just created and anchor the walls to said 2×4.
8. Repeat step 7 for the opposite wall.
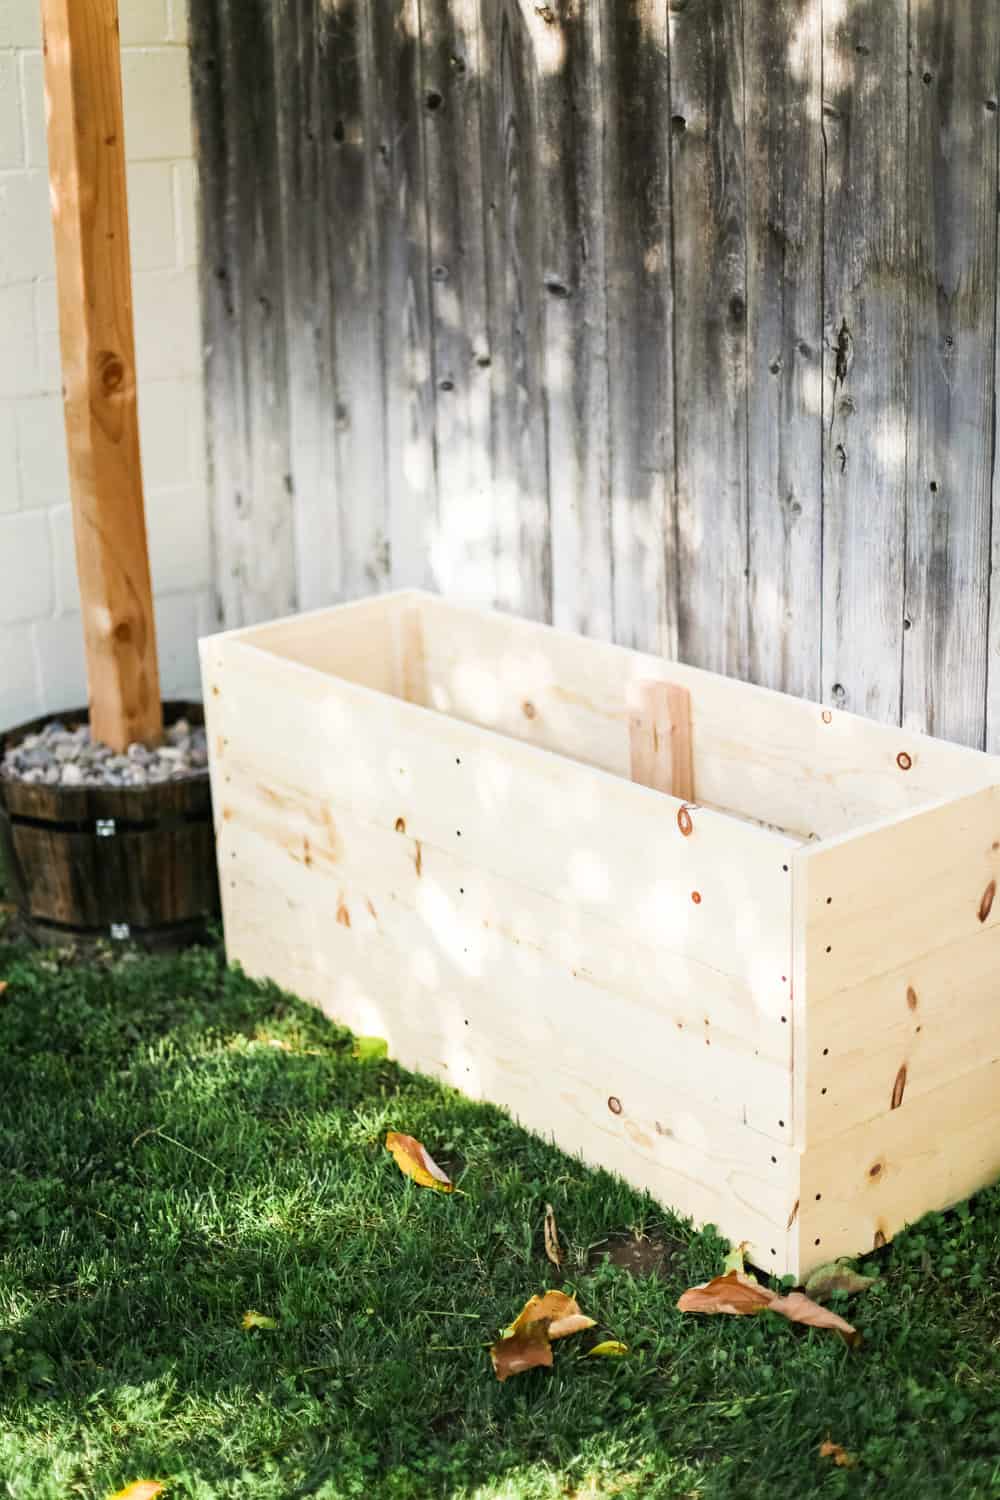
When I was researching planters it seemed like a lot of designs included a bottom of some sorts. We decided to omit this step because we were putting it underneath a grass/dirt area in the yard.
Now you’re ready to stain and fill! I am a huge fan of staining wood projects! Staining is more of an ‘artsy’ step that I really enjoy. Jared usually hands the project off from here to me. I use the same stain for almost all of my projects (see photo below) its a blend of stain and sealer so it holds up really well. The blended stain still looks miraculously matte. I brush one thing layer on and quickly wipe it off with an old rag or t-shirt. This method keeps the stain looking really natural. I have also been watching my Dad stain stuff since I was a kid and this is how he always did it.

Alright you have made it to the most exciting step! The fill step! If you have actually made it this far you should totally and actually go make yourself a planter because you will be very well educated and hopefully inspired 🙂
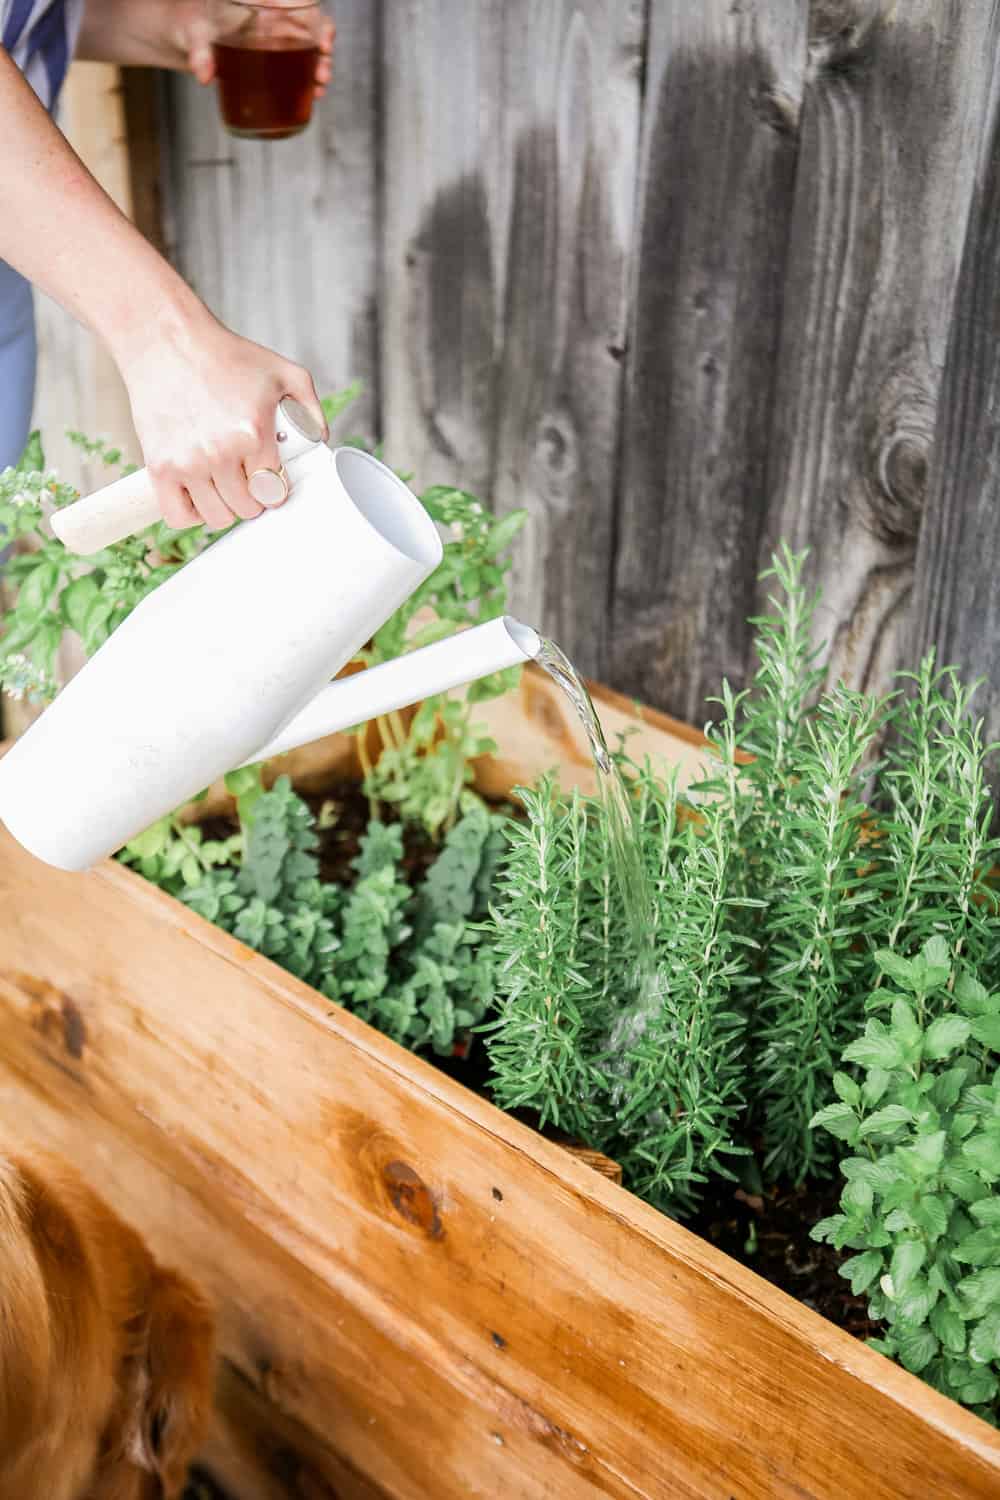
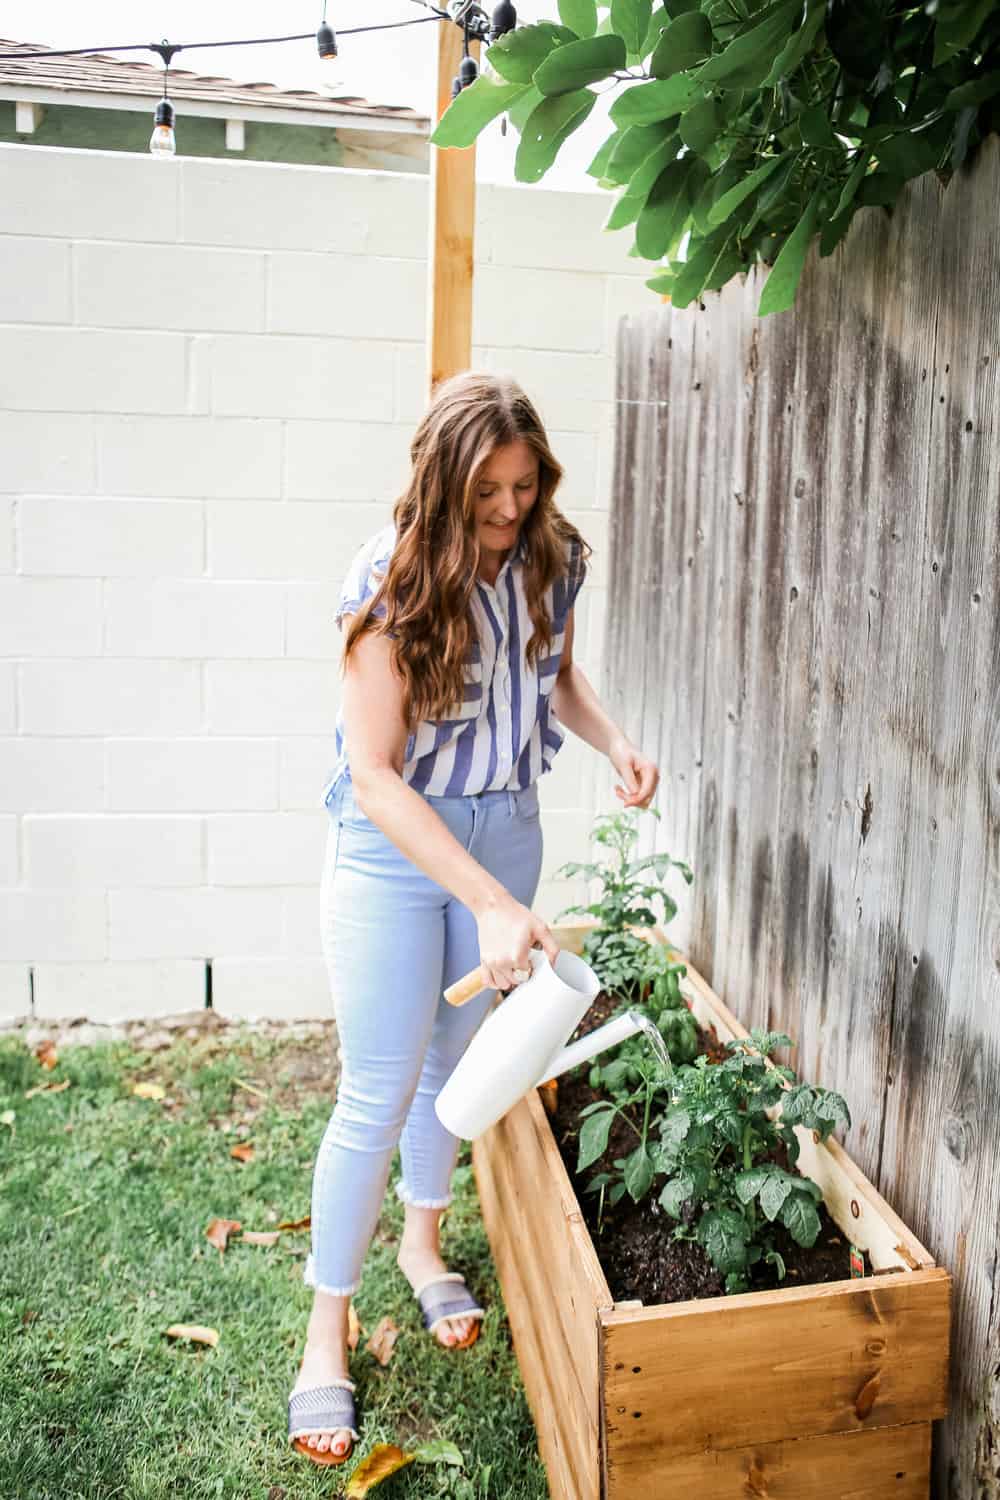
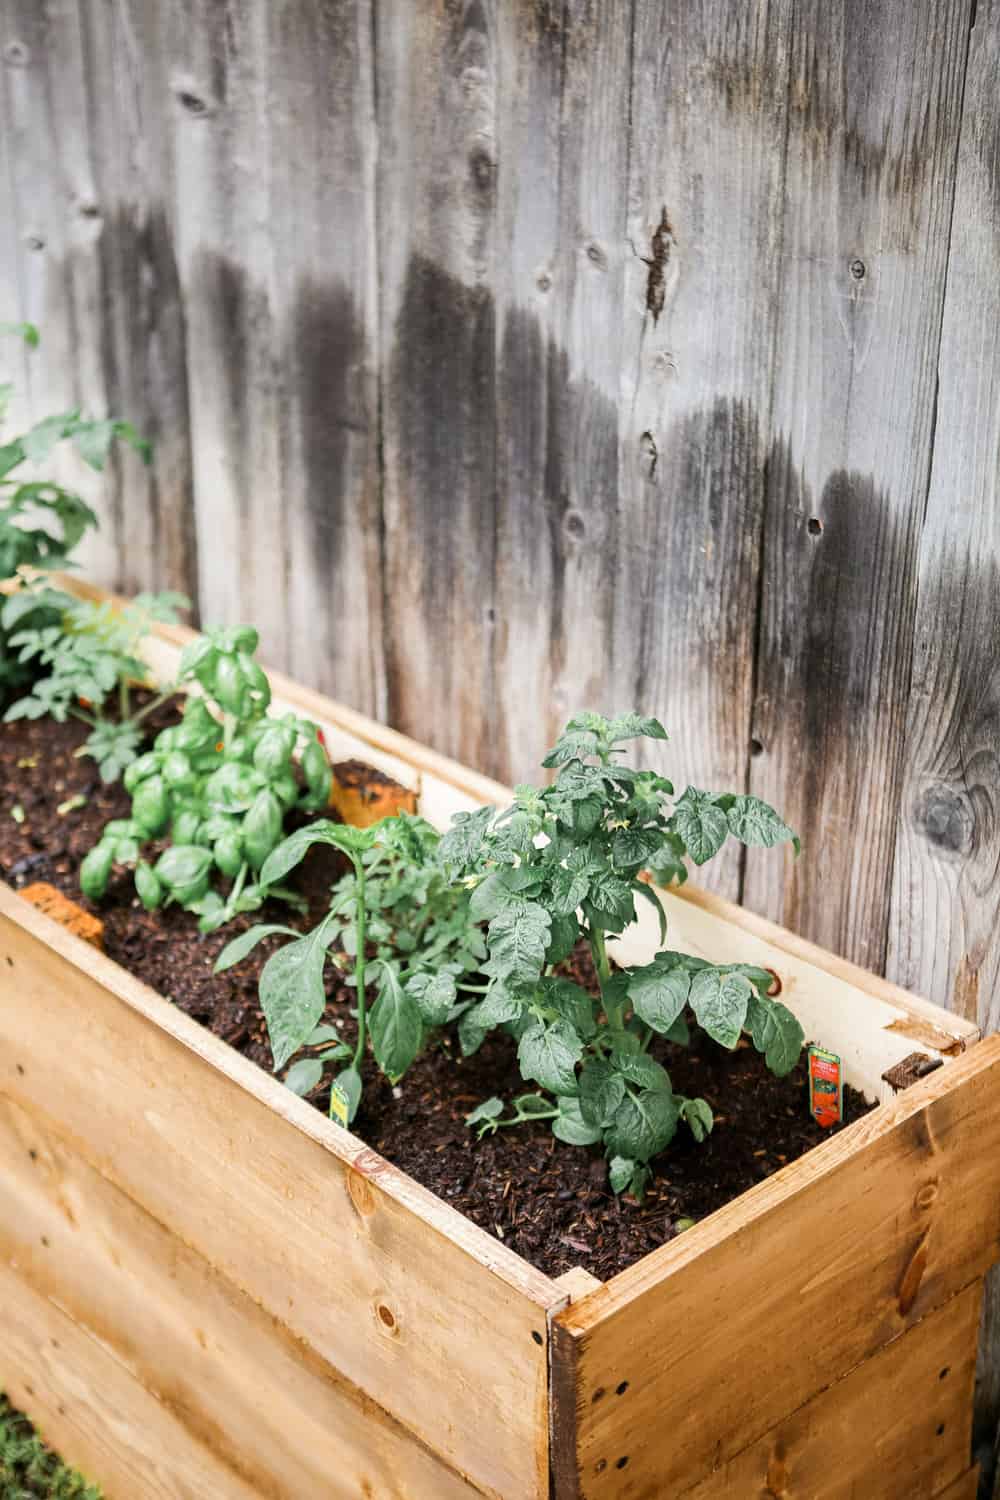
We now have two planters in the backyard, one is filled with just a variety of herbs and the other is filled with basil, tomatoes, and a few jalapeno plants. The planter does take quite a bit of soil to fill completely. The first planter box we went through about 6-7 bags of potting soil which was actually kind of expensive. The second planter I went with a blend of peat moss in the first half (way cheaper than potting soil!) and the top half where the majority of the roots would grow is filled with potting soil.
Begin to well out small holes for each of your herbs and cover generously with more soil. The first week, I water the planters every day and after that about 4-5 times a week. Our first planter has done so well and our herbs have doubled in size. So far the tomatoes are on a strong slow growth and doing well! If you make your own planters be sure to tag me so I can get excited for you!


join elizabeth on the rocks
Join our newsletter to chat about all things food, cocktails, home decor, and more!