


The post you have alllll been waiting for! Since Jared and I put these open kitchen shelves in our rental, our little kitchen has been BLOWING up! It is my most pinned pin on pinterest and our kitchen makeover progress has been my number one blog post for the last two months! Are you guys trying to tell me something?! Do I need to do more interior work? I’m not against it, I’m just not as skilled as I would like to be. I’d like to consider Jared and I like a B- Joanna and Chip: rental style haa! If we ever have our own home I seriously pray for Jared because I know I’ll probably make his life a nightmare with all of my crazy ideas and secret boards on pinterest.
This was one of those pinterest inspired DIY projects that I knew I wanted to start from scratch with. I checked out tons of open kitchen shelves from world market, west elm, crate & barrel, etc. I just could not bring myself to spend hundreds of dollars on some shelving that was 1. going in our rental and 2. knew we could DIY ourselves. I’ll say it once more I am NOT an interiors blogger and I am going to do my very best to share this ‘recipe’ for shelving but it will probably not have correct terminology and it will certainly contain a ton of errors. BUT, none the less I know this post sparked a lot of peoples interest and I wanted to share the secret sauce!
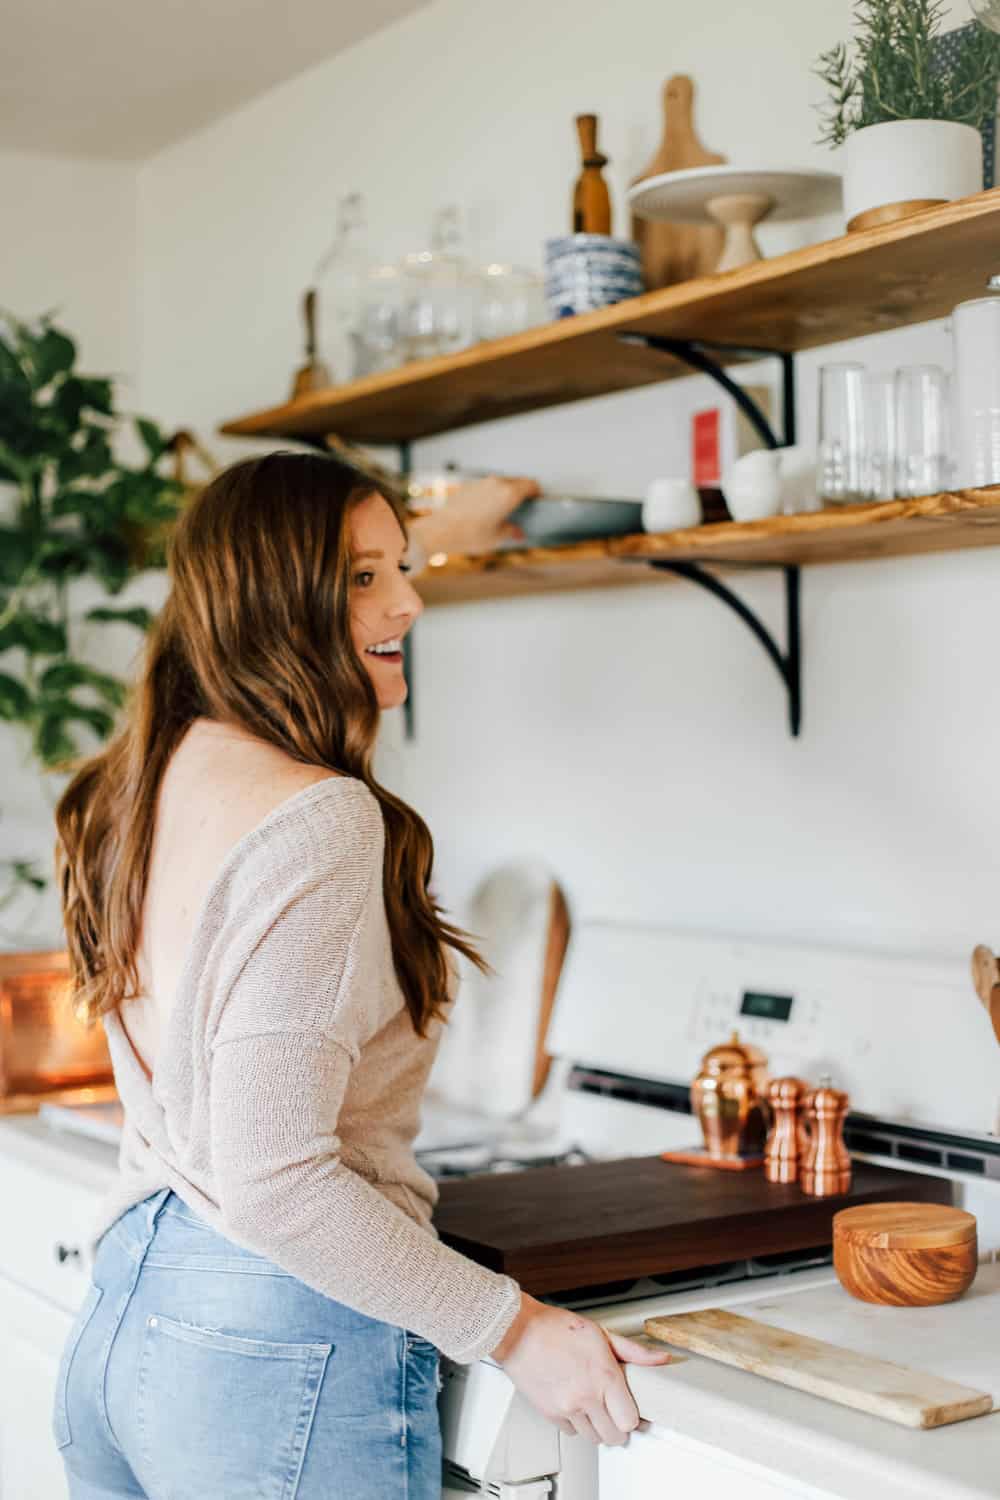
Believe me when I tell you that this was a pretty simple project! It took one day to shop for supplies and stain the shelves and the other to mount them onto the wall. Jared was even able to watch most of Sunday football, so you know it didn’t take THAT long. I’m sort of the ideas person and he’s great at taking my vision and making it come to life. I’m much more into the artistic side of things (I stained the shelves and painted the brackets!) and he did most of the measuring and important stuff so the shelves wouldn’t fall as soon as I put a plastic cup on them…
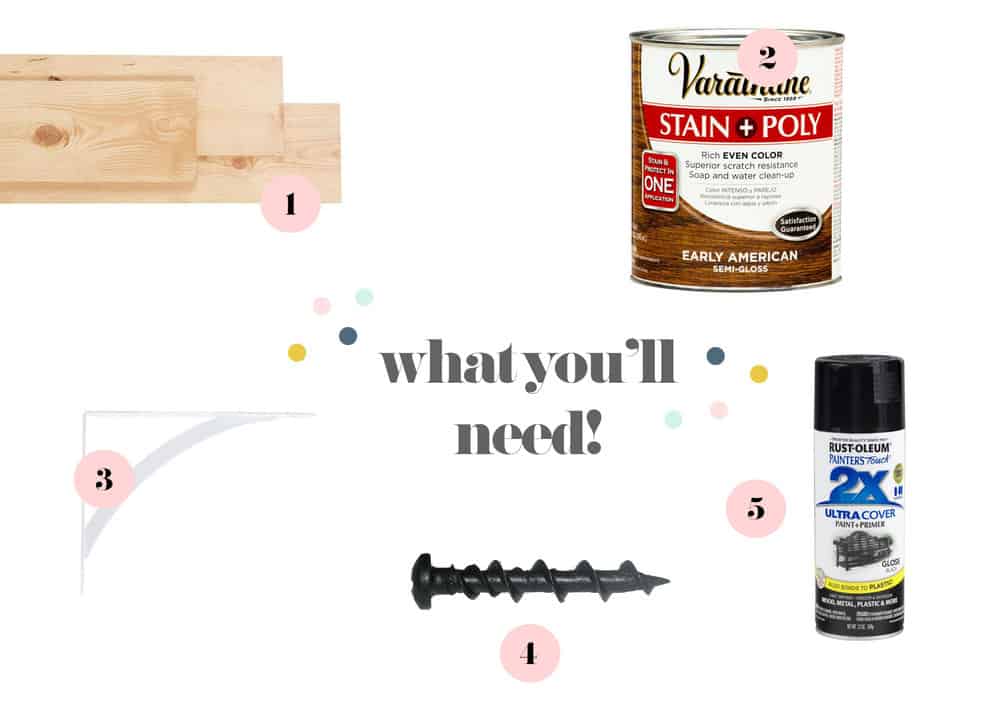
WHAT YOU’LL NEED:
(1) Two 6ft x 11 1/2 inch plank boards
(2) Early American Stain + Poly blend +an old rag
(3) Six shelving brackets
(4) Wall Anchors
(5) Black spray paint
You will also need a drill, an old rag + paintbrush for the wood stain, a level, measuring tape and probably a 6 pack of beer to keep your labor happy.
I think like 50% of people didn’t believe me when I told them we got everything from Home Depot and it cost less than $100.
Home Depot has this huge shelving section that I took a good hard look at before I went with solid wood from the lumbar area. The black and white particle board shelving seemed a little easier to work with BUT it was actually heavier than real wood. This was really crazy to me but I’m glad we went with the wood look in the end anyway. It was also cheaper than the particle board (I think it’s particle board, you know the stuff that all ikea furniture is made out of?!).
I did choose brackets from the shelving section. They recommended that we use 5 brackets for 6 feet of open shelving and I really fought for only 3. Jared’s an engineer so he INSISTED we should use 5 but I just knew it would have been overwhelming and not very aesthetically pleasing. The brackets that we bought we’re a standard white color. Most of the hardware in my kitchen is black so I bought a cheapy can of black spray paint and went at them. Note to self *don’t hold the spray paint can close to the object, farther is better.
The pine that we bought was already cut into 6ft planks so LUCKILY we didn’t have to cut anything and I’m sure this is why the whole process went really smooth for us. This is also the part of the DIY that can change for everyone… I do want you to know that Home Depot (and I think Lowes too?!) will cut your lumbar for you at no cost. So go in with your measurements! I knew that the shelves would be holding pretty wide things like plates, cookware, etc so I went with an 11 1/2 inch width on the pieces of wood and a 6ft length.
5 STEPS TO GORGEOUS OPEN SHELVING:
(1) Spray paint brackets black (or color of choice) and let dry for 24 hours
(2) Stain shelves with a thin coat of brushed stain (wiping down the stain after every addition) watch this youtube video before starting and skip to 1:15 for stain application. Let shelves dry overnight. I did one coat on each side.
(3) Measure your space and decide the spacing between each bracket and between the two shelves. We used 3 brackets with 3ft in between each one.
(4) Mount brackets with super simple all in one anchors (linked above!) and make sure they are level
(5) Apply wood shelf on to brackets and assure they are level before drilling the screws in underneath and onto the shelf
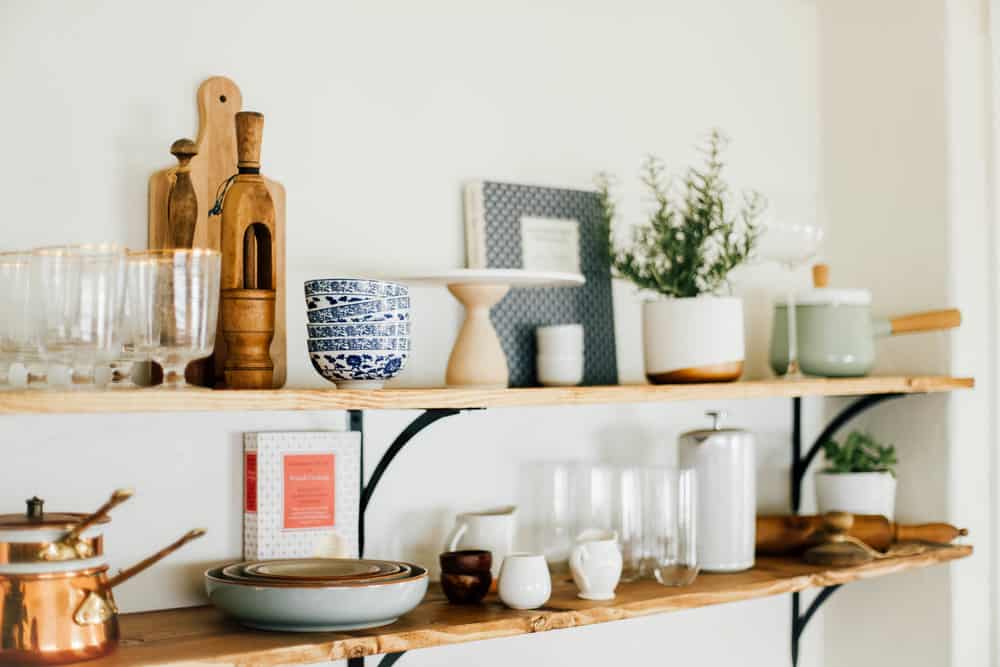
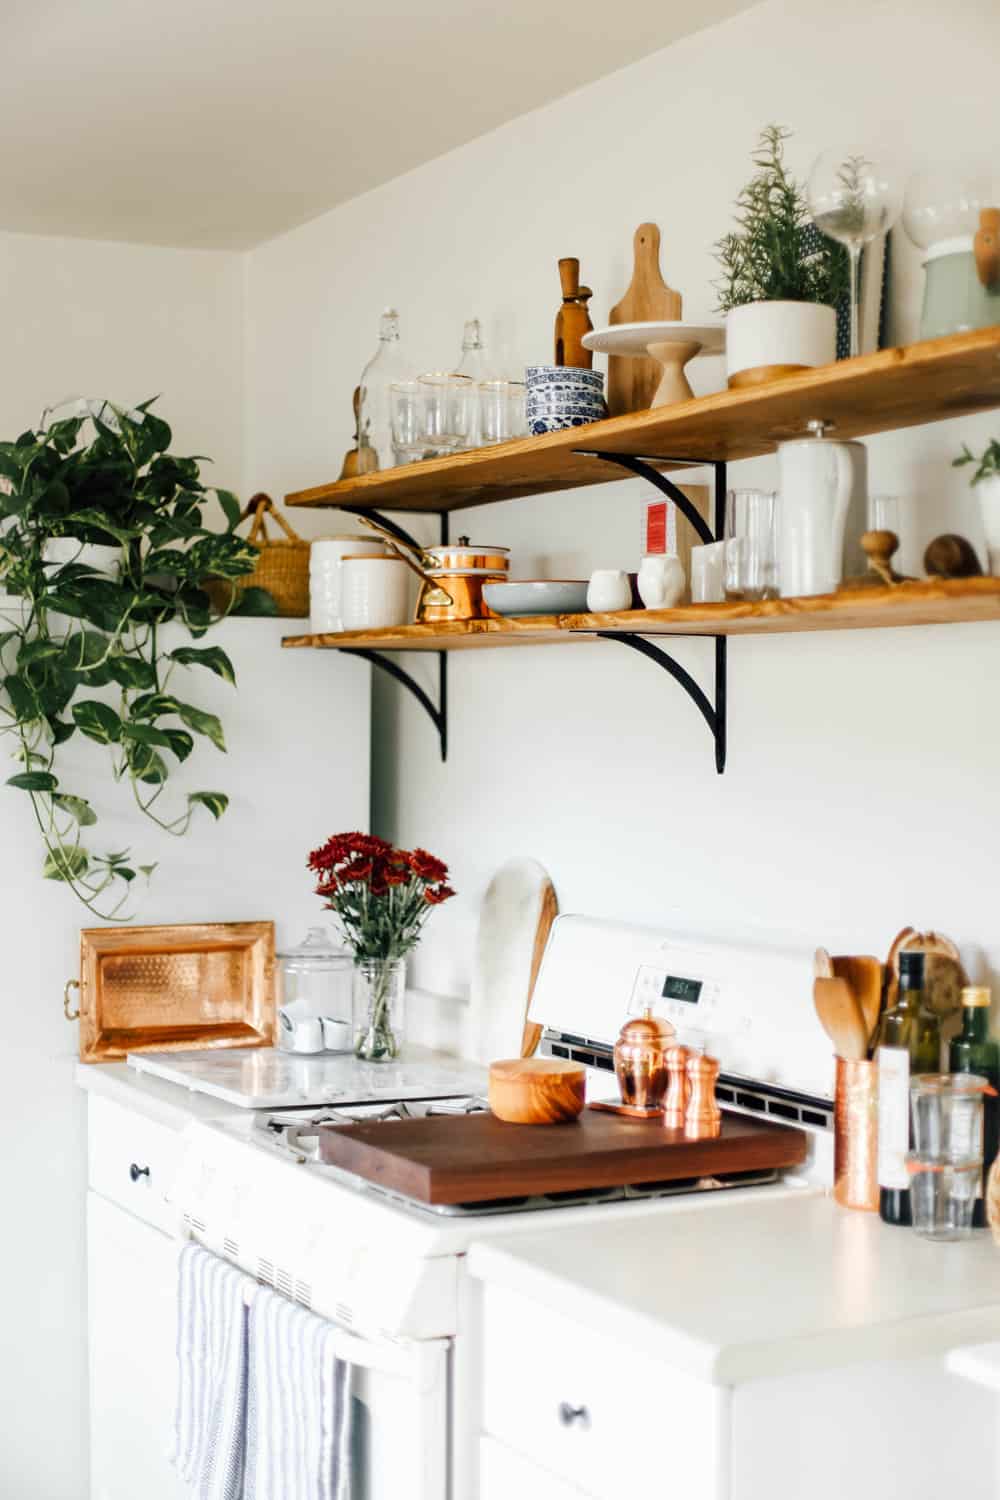
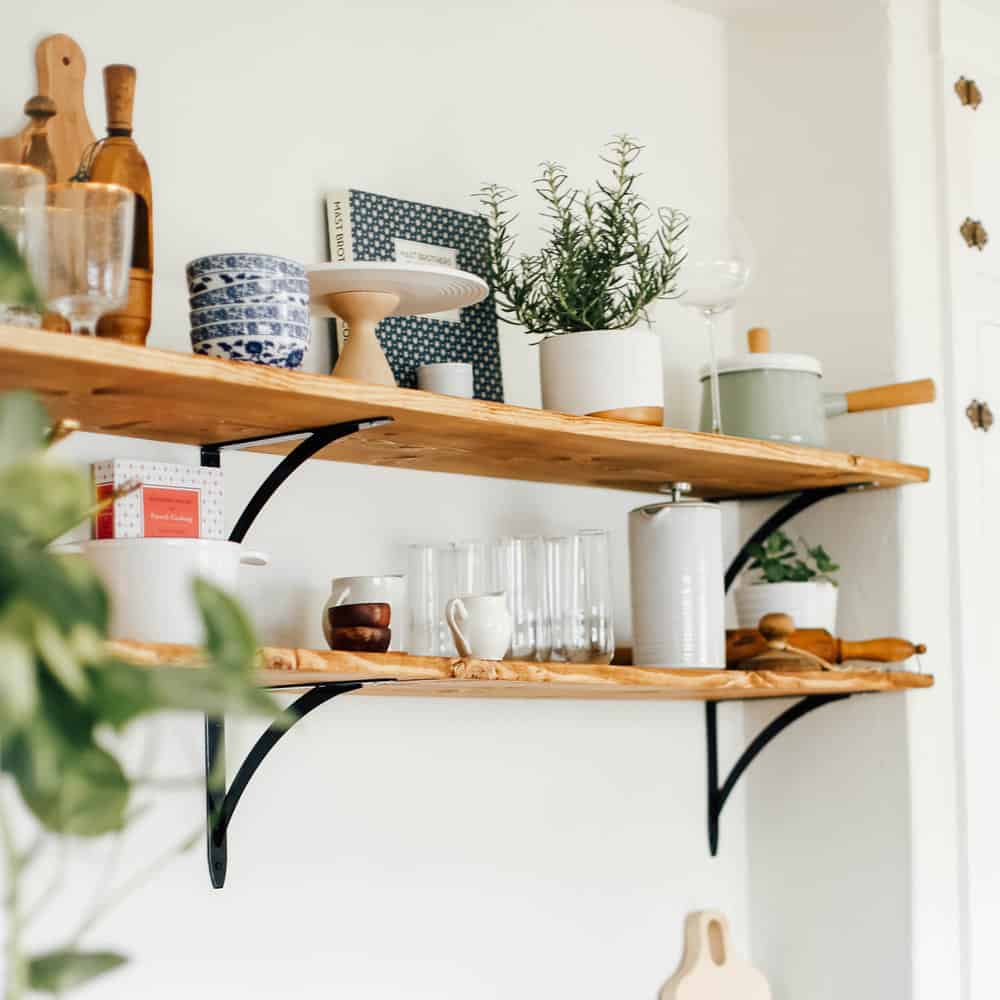
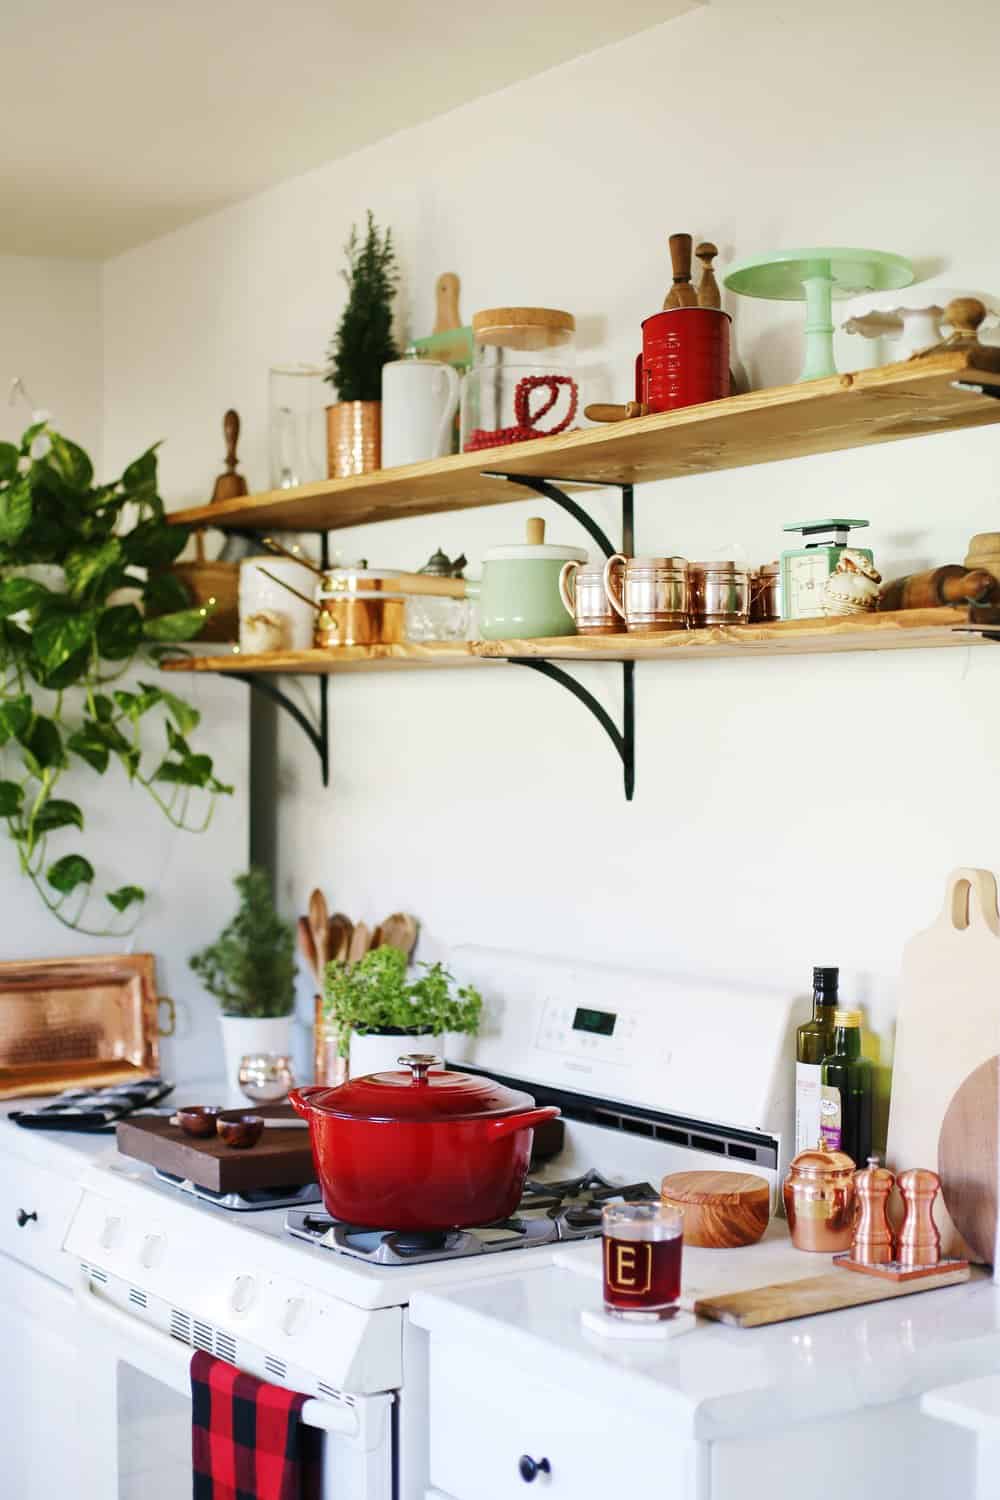
The next and best part (in my opinion!) was just styling the open shelves! I wanted a neutral look to start with but you can change it up for every season! Like right now I have a pale green and red color palette for the holidays (see below). But you can do anything! I like to keep in mind maybe a few things I use on the regular because they are at easy reach and of course your prettiest kitchen gear to display. I love to throw up my best copper ware because it’s kind of the motif through out my kitchen!


Love this!! Thank you!! But the link for anchors doesn’t seem to be working.
Hey there! It should be fixed now! Thank you for letting me know!
LOVE your kitchen! i am also in a rental so can appreciate your desire to renovate, our kitchen drives me nuts! these shelves look great, my hubby is into DIY at the moment so wondering if he could make me some!
Hey Georgie! I would love to see your rental kitchen! These shelves can seriously go anywhere and they are great for people with tons of dishes like us 😉